Make a video paid, private or members-only
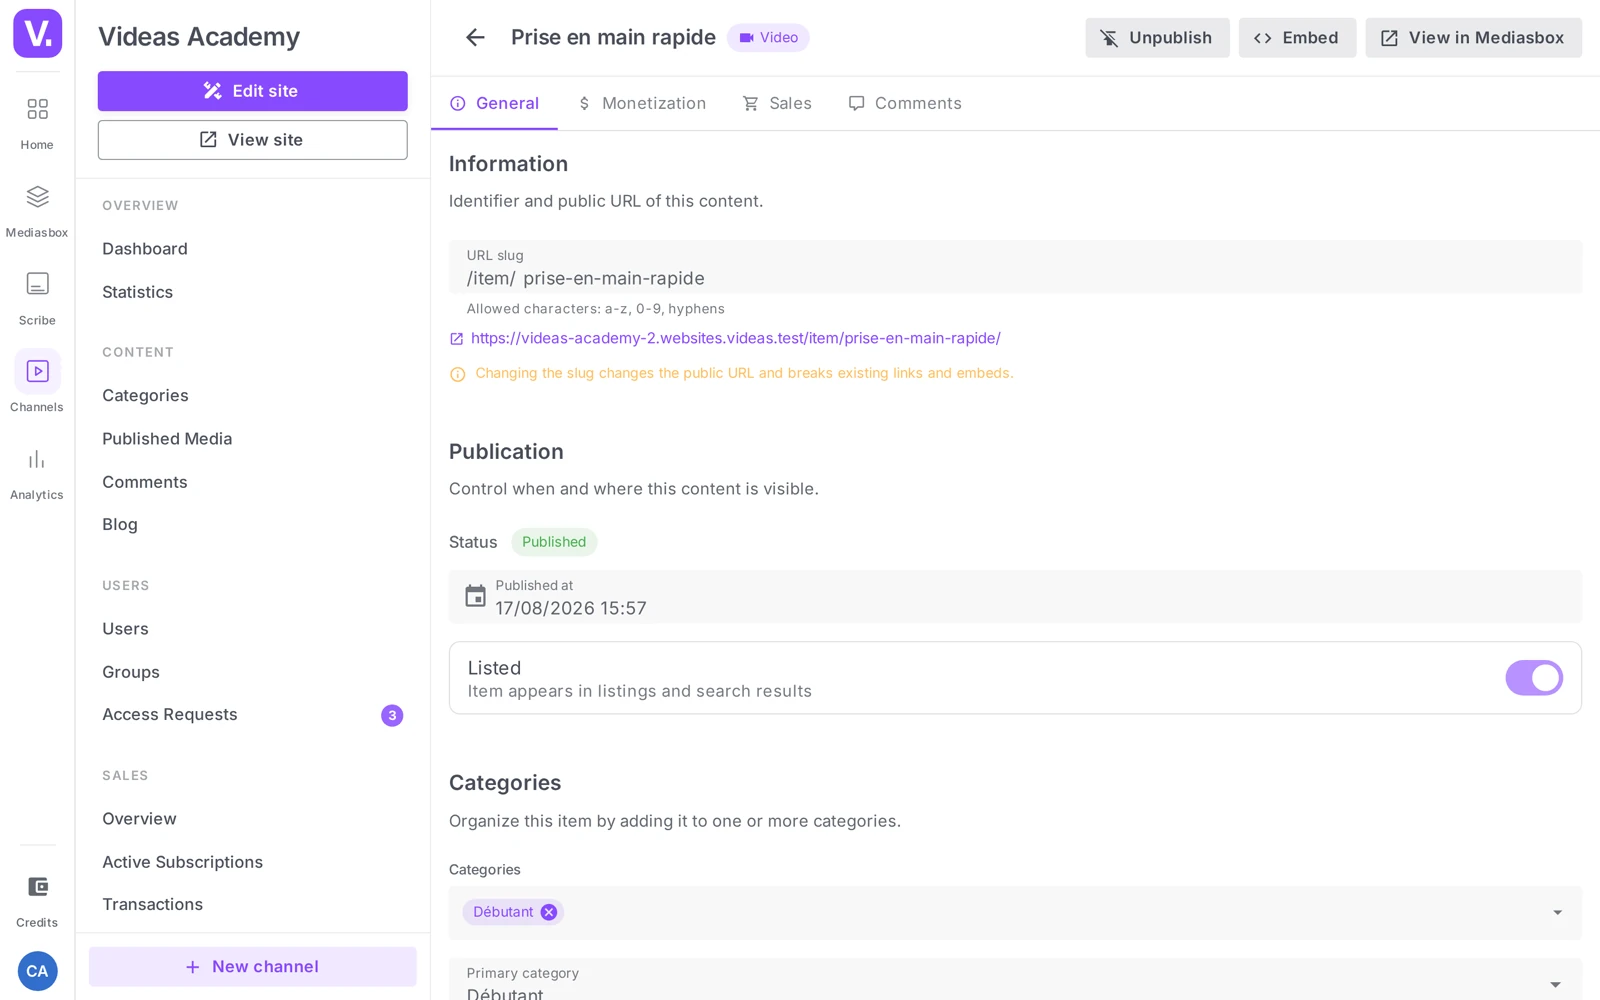
To control who sees what on your Videas channel, open Content → Published Media, open an item, and on the General tab set its access level in the Access section: Public, Authenticated, Restricted, On request or Paid. Save from the bar at the bottom. For a Restricted item, you then unlock specific users or groups.
This guide details the access levels, how to unlock restricted content, and how to handle access requests.
The access levels
On an item’s page, the General tab contains an Access section (“Choose who can see this content”). The levels on offer depend on how your channel is configured:
| Level | Description shown | Available if |
|---|---|---|
| Public | “This content will be visible to everyone.” | Unless the channel is in Users (required) |
| Authenticated | “Access reserved for logged-in users of your site.” | Authentication is enabled |
| Restricted | “Access limited to a selection of users or groups.” | The channel has user accounts |
| On request | “The user must submit a request, which will be approved by an administrator.” | Access requests are enabled |
| Paid | “This content is available to buy or through subscriptions.” | Monetization is enabled |
By default, an item is Public. Once you have picked another level, save from the bar that appears at the bottom of the screen — the change is not immediate until you save.
Good to know: in listings and chips, the Authenticated level may appear under the label Login required. And if your channel is in Users (required) mode, the Public option disappears from the selector (the whole channel already requires a login).
Unlock a Restricted item
A Restricted item is visible to nobody until you grant access. There are four ways to do it:
- From the item — on the item’s Access tab, click Manage access (users / groups): a dialog lists the authorized users and groups, with Revoke; if nobody has access, it shows “No user or group has access to this content yet.”
- From a user — the user’s profile → Access tab → Grant access (see Manage users).
- From a group — the group’s page → Access tab → Grant access: all of its members benefit (see Create access groups).
- From a category — a category’s Access rights tab grants its restricted content to users as well as groups, in one go: the Grant access button opens a two-tab dialog (Users / Groups), and the list of authorized entries is itself split into Users and Groups. The category itself has no access level: what you manage is access to the content it groups. Handy for opening up a whole batch at once. See Organize the catalog: categories and menus.
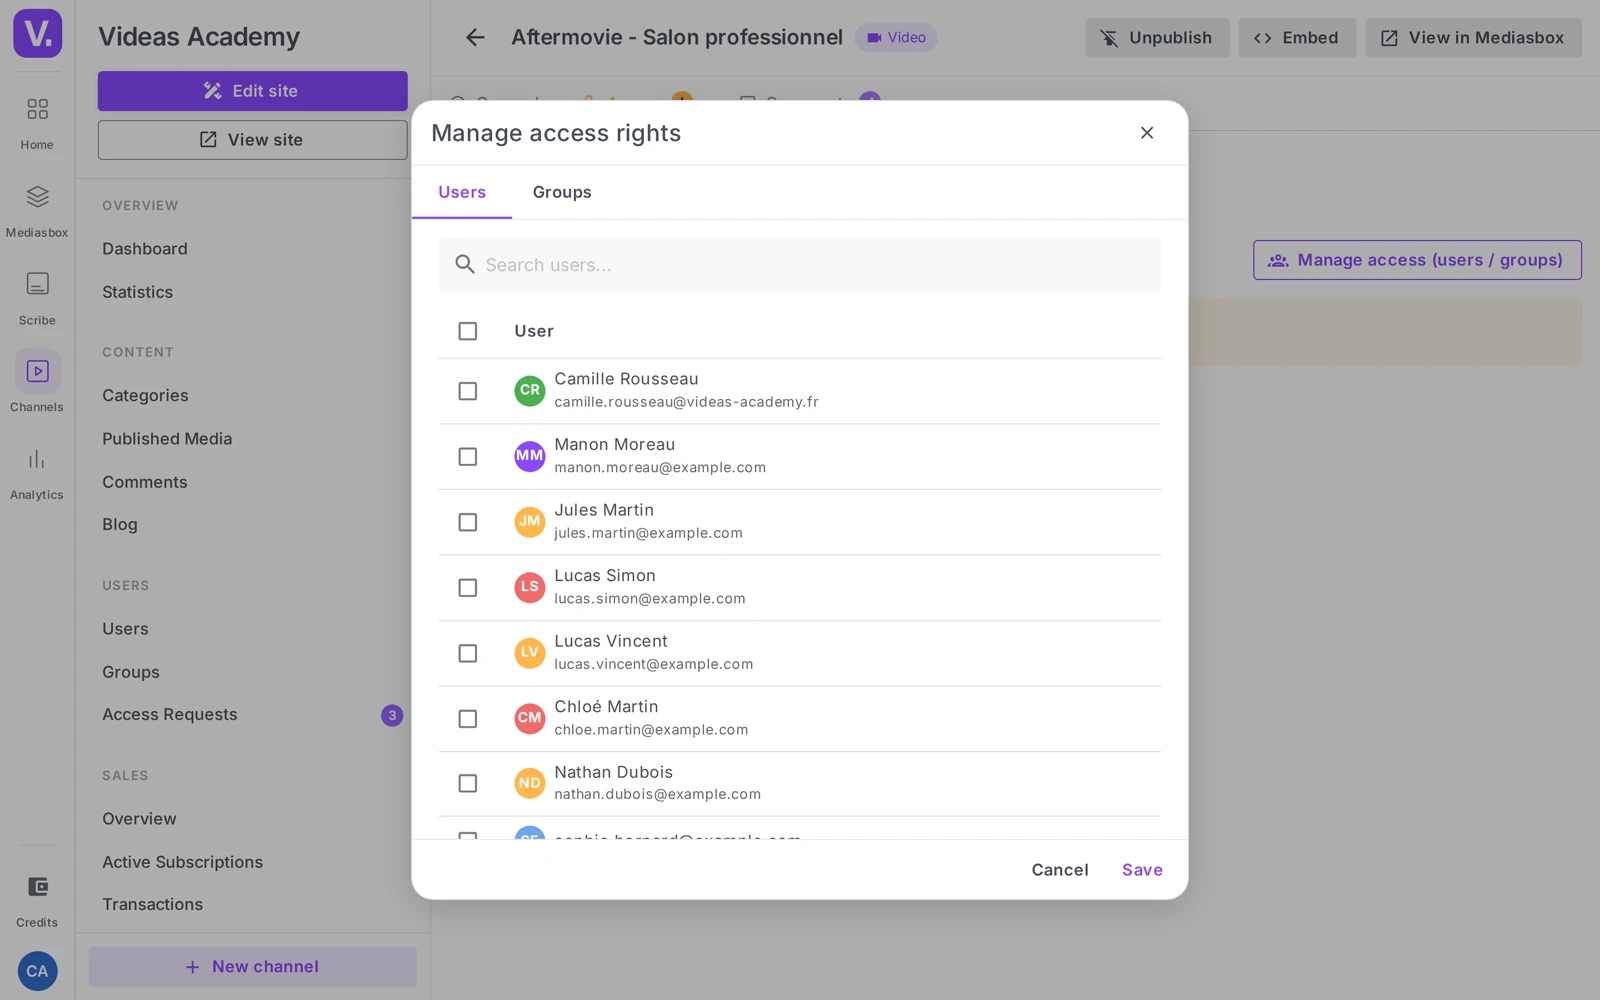
Cumulative logic: these routes are complementary. A user sees a Restricted item as soon as at least one of them grants it — it is an OR, not an AND.
Handle access requests (the On request level)
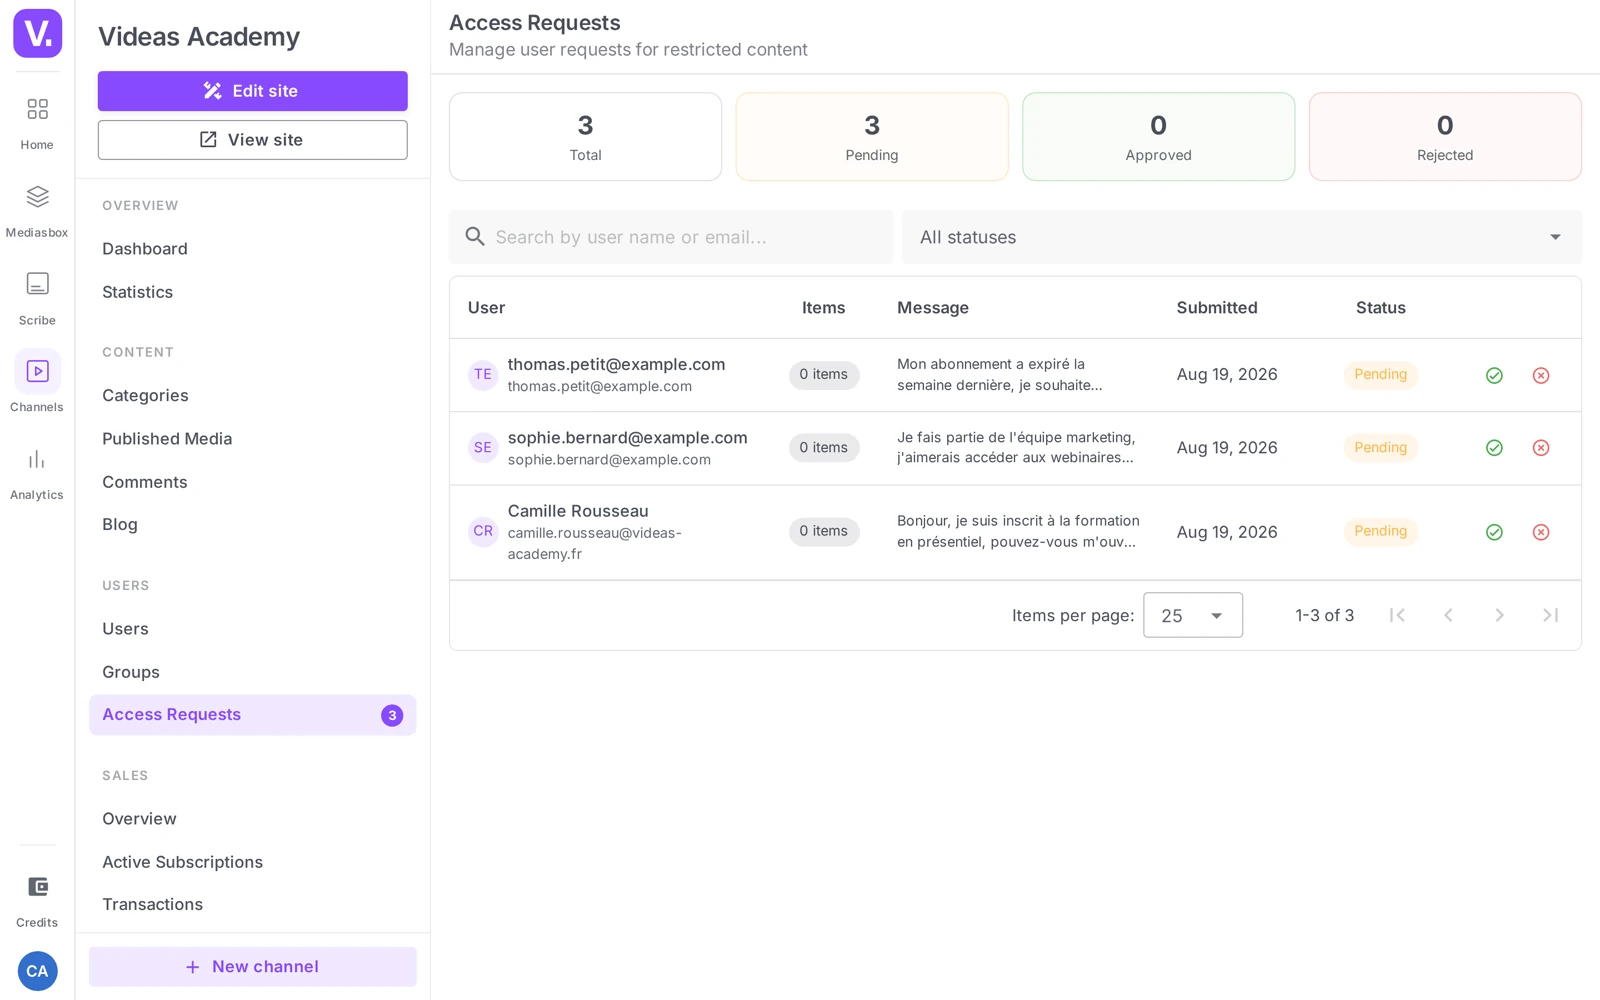
With the On request level, a visitor can submit a request for access to an item; you approve or decline it from your channel’s Access requests section.
That page shows indicators (Total, Pending, Approved, Declined) and a table (User, Content, Message, Submitted on, Status) with the Approve and Decline actions. The user is notified of the decision by email (see Configure email notifications).
Paid content (the Paid level)
The Paid level makes the content available to buy or through a subscription. Access then unlocks automatically when the user buys the item, rents it, or takes out a subscription that includes it. This level only appears if monetization is enabled on your channel.
Concrete use cases
- Trailer + premium — an excerpt as Public, the full item as Paid (unlocked by subscription). The visitor understands what is on offer and can subscribe.
- Freemium course — introductory content as Authenticated (visible after a free sign-up, to collect leads), advanced content as Paid or Restricted.
- VIP backstage — a category of content set to Restricted, granted to a “VIP” group whose members you choose.
Best practices
- Restricted from upload for anything sensitive: switch internal or confidential documents to Restricted first of all, to avoid a window of exposure.
- Prefer groups to direct access as soon as several users need to see the same content: easier to maintain and to revoke.
- Grant again after adding: a grant covers specific items — new content added afterwards is not included automatically.
- Test in private browsing: check that Public content is reachable without a login and that Restricted content really is invisible to an unauthorized visitor.
Why is my Restricted content visible to nobody?
Because that is the expected behaviour. Restricted content is visible to nobody until you have granted access to specific users or groups.
Four routes are open to you: Manage access from the content’s page, Grant access from a user’s profile, from a group’s page, or from a category’s Access rights tab to open a whole batch at once.
Do the different access routes combine?
Yes, with OR, not AND. A user sees Restricted content as soon as at least one route grants it — a direct grant, a group, or a category.
The practical consequence concerns revocation: removing someone from a group is not enough if they also hold direct access to the same content. Every route has to be cut.
Why has the Public option disappeared from the selector?
Because your channel is in Users (required) mode. As the whole channel already demands a login, a Public level would make no sense and the option is removed.
Note another vocabulary gap along the way: in listings and chips, the Authenticated level may appear as Login required. They are the same thing.
Does a grant cover content added later?
No. A grant covers specific content, chosen at the moment you make it: it is a snapshot. Content added to a category later, or published afterwards, is not included automatically.
The habit to build: re-grant after every addition. It is the main maintenance cost of a restricted catalogue, and the reason to favour groups over direct grants — there are fewer places to revisit.
How do I handle access requests?
From your channel’s Access requests section, which only exists if you have content at the On request level. It shows counters — Total, Pending, Approved, Refused — and a table listing the user, the content concerned, their message and the submission date.
The actions are Approve and Refuse, and the user is notified of the decision by email. It is the right level when you want to filter case by case without building groups in advance.
Should I use a group or a direct grant?
A group as soon as several users need to see the same content. It is simpler to maintain — one place to add content, one place to revoke — and it documents why the access exists.
Direct grants suit isolated cases: a client you open one video to, a one-off supplier. Beyond two or three people sharing the same need, the group is cheaper.
When should I set the access level of sensitive content?
At upload, before any publication. Setting an internal or confidential document to Restricted before publishing avoids a window of exposure, however short, during which it would be public by default.
That matters all the more because the level change is not immediate: you have to save through the bar that appears at the bottom of the screen, and forgetting that step leaves the content at its previous level.
In summary
- The access level is set on an item’s page (Content → Published Media), the General tab, the Access section — then Save (not immediate). By default, an item is Public.
- Five levels depending on the channel setup: Public, Authenticated (shown as Login required in lists), Restricted, On request, Paid.
- A Restricted item is unlocked through Manage access (from the item), or Grant access from a user or a group — cumulative logic (OR).
- The On request level feeds the Access requests page (Approve / Decline); the Paid level unlocks through a purchase, a rental or a subscription.
- To open up several items at once, use a category’s Access rights tab.
Related articles
Screenshots were taken on Videas Academy, an example channel built for this help center. It belongs to a fictional customer, not to Videas: your own channel carries your name, your branding and your prices.